Are You Monitoring Your Home Wifi Settings?
This post about monitoring your home WiFi settings is Part 5 of the 5-Part Blog Series, The Sophisticated Widow’s Guide to Smart Home Gadgets.
This blog post series is dedicated to helping you learn why you need smart home gadgets in your life and how they’ll make your tasks easier and less stressful. For real!
You can read the other parts of the series here:
Part 1: A Simple Home Security System
Part 2: A Smart Sprinkler Solution
Part 3: Why You Need a Smart Garage Door Opener
Part 4: Why and How to Cut the Cable Cord
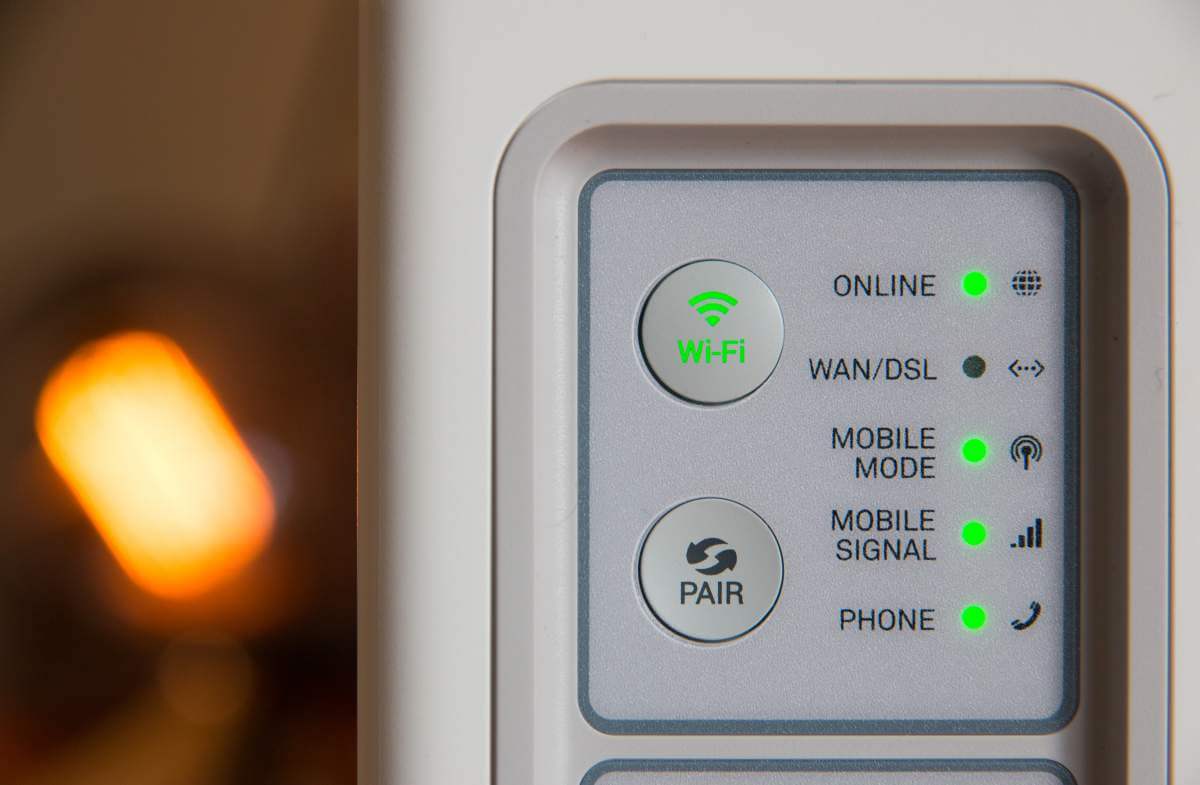
Your home WiFi network connects you and your family to the world by providing internet access to your devices and connecting those devices to each other.
Remember when we used to connect to things using cables? And every device needed a cable connected to a port connected to the main router? Ugh. All the cables! There was no way to move those cables around.
When you connect wirelessly, using WiFi, you’re using radio frequency signals instead of wires. You can move each device around as long as you’re within signal range.
That’s good news. No more wires and cables!
The bad news is because WiFi devices connect using broadcast signals instead of wires, it’s possible for unauthorized users or hackers to access your network.
But, lucky for you, there are many ways to make sure your home network is secure. If you’re not monitoring your home WiFi settings you should be.
And I’m going to show you how.
FIND YOUR PROVIDER’ WEB PORTAL AND MOBILE APP
Different service providers offer different ways for monitoring your home WiFi settings or network.
Xfinity (Comcast) has the Xfinity xFi Web Portal and Mobile App.
AT&T has the Smart Home Manager Web Portal and Mobile App.
Other service providers like Verizon Fios or Hughesnet.com have a version of their own apps to access account information and manage settings.
As a result, it doesn’t matter what internet service provider you use. Chances are pretty good there’s a web portal and an app available to manage your network settings.
So, just do a quick Google search using your internet provider’s name + mobile app + control wifi and you should find what you need. Like this:
providername + mobile app + control wifi
Once you find the web portal and mobile app, you’re on your way.
To be clear, the web portal lets you manage your network settings from the web. Like when you’re connected to your computer. And the app lets you do the same thing from your smartphone.
For purposes of this post, I’ll just be talking about monitoring your network settings using a smartphone app.
NETWORK OVERVIEW
The overview or home section on most mobile apps shows you your network name, displays network activity, has options to troubleshoot connection issues and more.
If you’re having trouble connecting, the overview section is where you can restart your gateway. You know how things start working again after a reboot? Sometimes your modem/router just needs a reboot to resolve common connection issues.
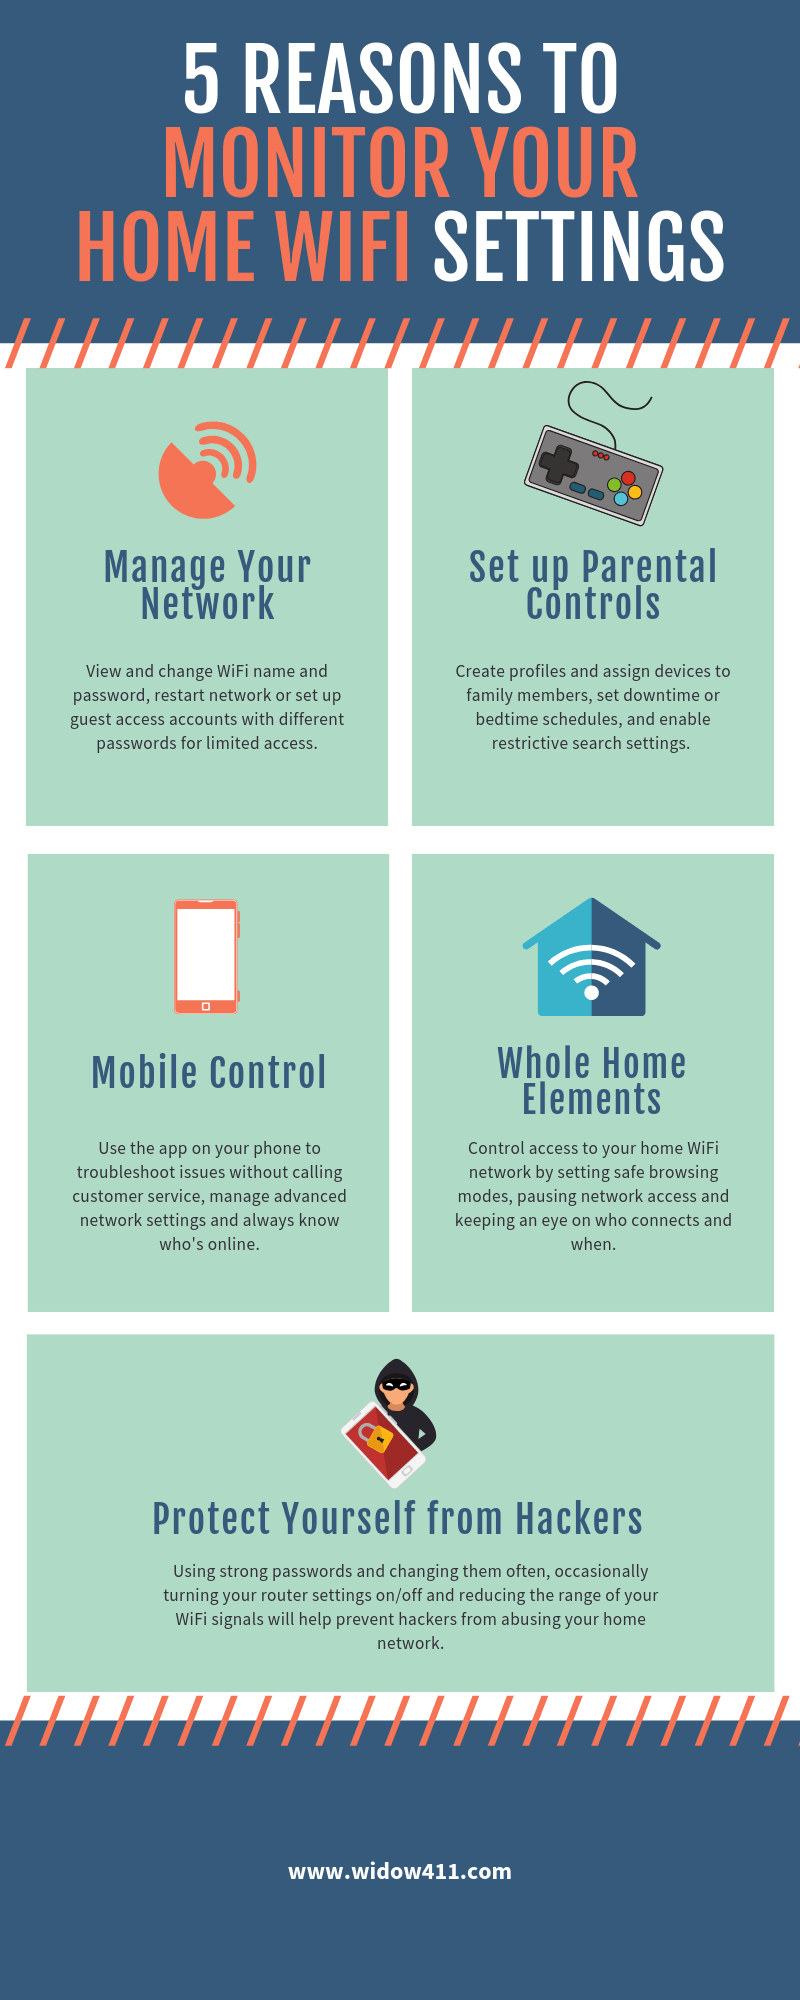
You can also view, add, and/or change your network name and password in a few short steps. Specifically, you should change your network password once in a while to enhance your network security.
Separate Networks
Or, if you have lots of devices on your network like printers, computers, gaming systems, tablets, etc., you could create two different networks.
For example, you might want to keep office-related devices like computers and printers on one network. And kids’ devices/gaming systems on a separate network. When you want to change your kids’ WiFi password, you wouldn’t have to change the password for every connected device.
Another good reason for separate networks is to assign your phone/computer/printers to the bandwidth with higher performance or speed.
In other words, my phone and my laptop computer/printers are on the 5GHz band and my kids’ phones and tablets are on the 2.4GHz band. So, I have two network settings with two different bandwidths and two different passwords.
The tech items I use are in the 5GHz band which provides better speed and performance. I mean, don’t I deserve the improved performance and speed band because I work from home? And because I pay the bills!
My kids’ devices are on the 2.4GHz band which gives them a better range. It’s also better suited for transmission through walls and other solid objects.
I know this can get really techy really fast, but just know the options exist to have more than one network for password and/or device purposes.
IDENTIFY CONNECTED DEVICES
Every device in your house that uses WiFi is listed on the Devices section of your mobile app.
The Devices section shows you which devices are connected (currently using WiFi/online) or not connected (connected in the past but not currently online).
Now, it can get tricky to identify all of the network devices. Typically when they first connect, you’ll see the device’s default name (the manufacturer-set name or MAC address). Or the name you gave your device when you set it up.
Sometimes it’s hard to identify devices when listed with just a MAC address. If the displayed default name is a long string of numbers and letters, it’s probably the MAC address.
But what does a MAC address tell you?
Well, each device (like a Rachio sprinkler controller) has a unique MAC address. When I connected my Rachio controller to my network, the device was listed with its MAC Address (02:0X:B5:08:D2:81) and I had to figure out which device it was. I looked up the MAC address on the Rachio controller and paired it to the MAC address on my device list.
Xfinity has a great support article on how to find the MAC address for common devices here.
MANAGE DEVICES
You can personalize every device on your network. So once you’ve identified the devices, you can personalize (change) the name.
Remember the Rokus I bought in the Are You Ready to Cut the Cable Cord post? They all show up as “Roku” on my Devices list. So I personalized each one and changed the name to “Roku – Bedroom” or “Roku-Family Room” to make identifying those devices easier.
Push Notifications
You can also receive notifications every time a new device connects to your network by opting-in for push notifications. So when your kids’ friends or other guests access your WiFi network, you’ll get an email message or text.
As soon as my kids’ friends sign on to my network, I get a text. Then I personalize the device name. So, when my son’s friend Jack signed on to my network, instead of leaving the device name “Apple-5CD5” (which I have no clue who this belongs to) I changed it to “Jack’s iPhone.” Now I know whenever Jack is over and using my WiFi it’s my son’s friend and not some stranger who hacked into my system.
The nice thing about the push notifications is you’ll always know when a new device connects. If your kids are passing out your WiFi password to every Tom, Dick, and Harry in the neighborhood and all of a sudden you see a surge in connections, it’s time to have a talk with the kiddos about password protections.
Limit Rogue Connections
The other reason I personalize the names of every device is so I know when a rogue device is trying to connect. My older son had his phone taken away several times for behavioral issues and every time I revoked his phone privileges, he’d try to connect with a different burner phone.

So, I’d get the message a new device connected. Now, I wouldn’t know whose device it was because it would have some random name or random MAC address.
But, I eventually figured out what he was up to and learned about the option to pause device access on my network.
I pause access “indefinitely” so I can keep track of how many rogue devices connect. If I removed the device from the network (another option), my son could just connect the device again by re-entering the password. We could play this game for days.
So, instead of continually changing the password, I just pause his access. My son can’t get the wireless signal he needs so his burner phone is rendered useless.
#momwin.
Keep in mind you can pause access for any device at any time. So whenever my other kid gets mouthy and doesn’t know when to shut his pie hole, I just pause his phone access until he can speak to me in a more civil tone. I don’t pause his access “indefinitely.” I typically pause access for a couple of hours until he cools down.
Ugh. The things we solo parents have to do to stay one step ahead of the kids is EXHAUSTING.
But easier with your phone app!
ASSIGN DEVICE PROFILES
You can create profiles for people or groups to organize devices into different categories and manage them more efficiently.
You can also set time limits, bedtime mode, and parental controls.
This is where it gets good.
Bedtime Mode
For example, I created a profile called “TVs.” During the school year, I set a bedtime mode for 10:00 pm to 6:00 am so our TVs will lose internet access after 10:00 pm. Since we’re wireless with all of our streaming channels now, my kids can’t watch TV past 10:00. They know it’s time for bed.
Active Time Limit
You can also set an active time limit on any device so you can limit how many hours of TV your kids can watch per day or how many hours they spend on their phone, tablet or gaming device. I put the Xbox and Wii in a profile called “Gaming” and set a time limit of two hours. This gives my kids some time to play on their gaming devices, but not get lost in a twelve-hour-brain-cell-poisoning-video-game bender.
My kids have zero self-regulation skills.
Parental Controls
I also enabled Parental Controls on all of my device groups to reduce the risk of accessing objectionable websites and apps (kids can watch YouTube on an app on the TV) and enable protective search settings for search engines.
Whew. Sounds like a lot of work. But it’s not.
Just tap a few options on the app on your phone and you’re good to go.
PROTECT YOURSELF FROM HACKERS
Are hackers trying to get into your home wifi network?
Maybe? Maybe not?
The best thing you can do to protect yourself from hackers (or your neighbor or your neighbor’s kid) trying to connect to your network is to use a secure password and change it frequently. I like to use a strong random password generator because I’m not creative enough to come up with passwords that are long enough to be secure.
You can also set up two-step verification where you need to enter a security code before you access your account. Typically, the code is sent via text and if you don’t type in the correct code you can’t get into your account.
I have two-step verification set up on everything from my bank accounts to my WordPress dashboard. I don’t mind the extra step of entering a code for my WiFi settings because it’s less headache in the long run.
There are lots of advanced security settings you can enable on your network and describing those settings is over and above my knowledge level.
If you want more advanced security information click here and here.
WIDOW WRAP UP
Gone are the days of sitting on hold for hours on end waiting for a customer service rep to answer your questions about your internet connection.
You can manage most of your WiFi network activity right from your phone. Wireless connectivity makes it so easy for us to do in a few minutes what used to take hours.
The best part of monitoring your own home WiFi settings is setting time limits on devices or enabling parental controls.
The thing is because wireless access is easy, it doesn’t make it safer.
WiFi configurations are simple enough to hack. It’s in your best interest to familiarize yourself with your network settings and connected devices so you know who’s online and when.
You must make sure your information, access points, and users remain protected.